Using Spaces in Element
In September 2021, the Matrix client Element finally released the “Spaces” update which added said Spaces into Element.
If you used previously the instant messenger Discord, a Space is like a Discord guild: an aggregation of channels.
With recent updates, you can even gatekeep your rooms so joining them require membership to a certain Space.
This page shows how Spaces work as there has been a lot of confusion around them.
This tutorial assumes you are using Element on the latest version available as of 2022/12/06 (1.11.15).
Space Usage
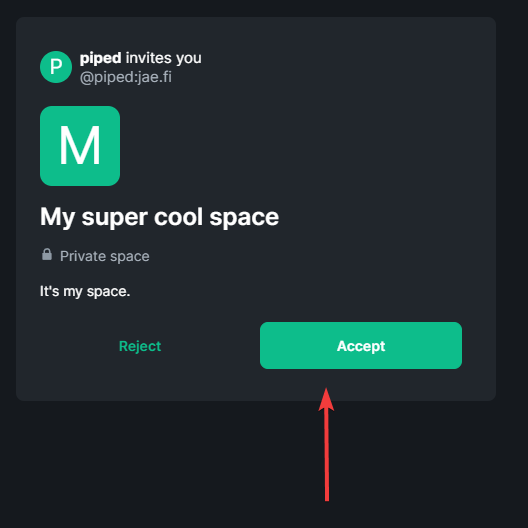
Being invited to a Space
A Space invitation shows up on the left side of your client with a small red exclamation mark.

To accept the invitation, just click on it and then click on “Accept” and done, you are now in the Space.
Joining rooms
To list all rooms available in a Space, you just have to double click on the icon of the Space you wish to view.
On that view, the rooms you already are in have a small green checkmark.
To join a room, you have to put your mouse on the room and click “Join”.
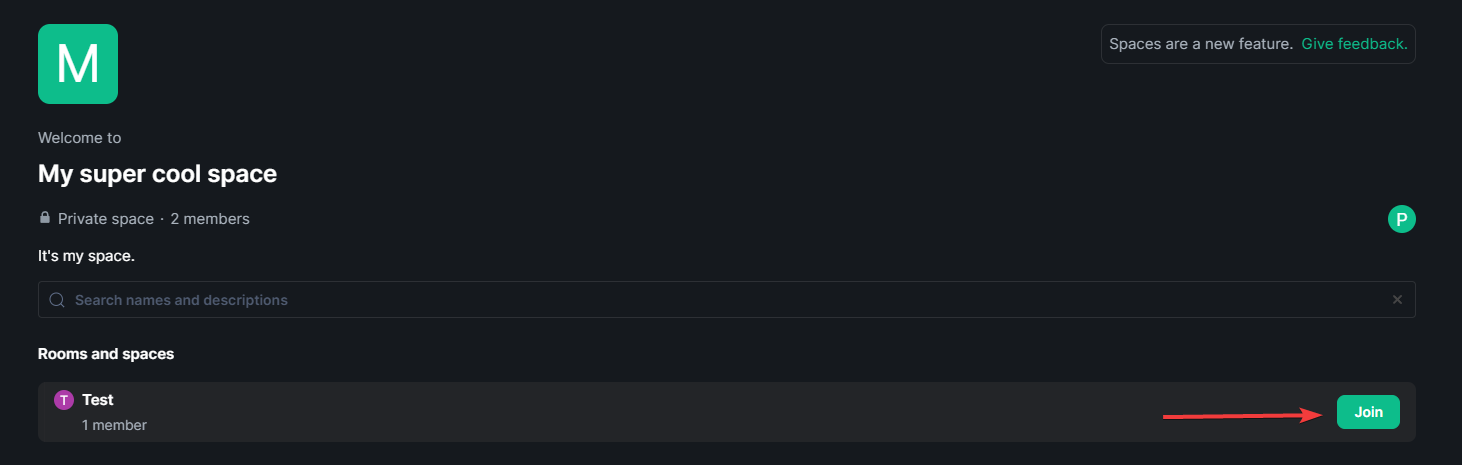
One click and done, you are in the room!
Space creation and management
Creating a Space
Creating a Space is very easy, all you have to do is go on the left side of your Element window and find the “+” button (you may have to scroll down if you are already in a lot of Spaces).
After clicking that button, you will be prompted to choose between creating a public or private Space.
- Public Space: anybody knowing the room ID or address can join it
- Private Space: users have to be invited to the Space
For this tutorial, let’s create a private Space.
You now have your own Space!
Inviting user to a Space
Inviting an user to a Space is really simple, click on the “invite” button and invite all the users you wish.
Adding rooms to a Space
You have two ways of adding rooms to a Space:
- Add already created rooms
- Create new rooms
Everything is done within the “Add” menu on the Space management window (obtained by clicking two times on the Space icon).

Adding existing rooms is easy, just click on the option, check the rooms you wish to add and then finish by clicking “Add” on the bottom right corner.

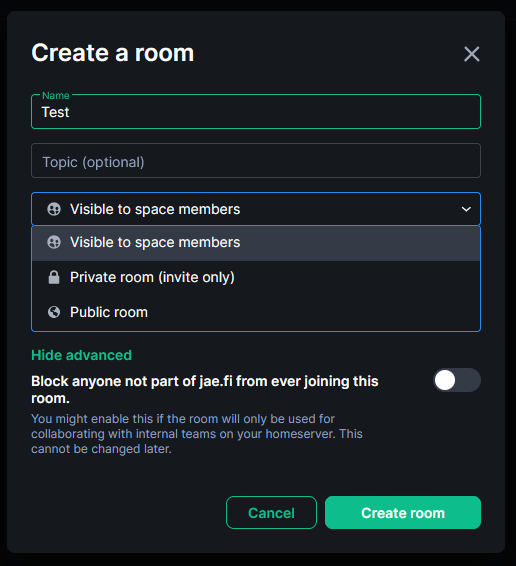
When creating new rooms, you can either have:
- Private rooms (needs invite)
- Public rooms (anybody can join)
- Space members only (anybody within the Space can join the room)
For this tutorial, we will use the third option as it is the one that emulates what other instant messaging programs (like Discord) are doing.
Keep in mind that this option can be changed later so no big deal in experimenting and changing over time.
There you go, you now have some rooms in your Space.